Outdated cabinets. Dingy flooring. No storage. Old appliances. If these words describe your kitchen, then a remodel is probably on your wish list. But what exactly is involved in a kitchen remodel? The key is to understand the process before you get started, because your success is contingent upon taking the right steps in the right order.
Step 1: Plan
Of course, you are raring to go but don’t remove that grimy old sink or order a new smart refrigerator until you’ve mapped out a detailed kitchen remodel plan. It will emphasize the basics such as your budget, your look, and if you can tackle the project on your own or if you should consult with some remodeling professionals.
The extent of the work can range from a basic refresh – adding in those new appliances and fresh coats of paint – to a total gutting of the kitchen – which means tearing down walls and reconfiguring your layout. Most kitchen renovations lie somewhere in the middle. It all depends on what you want for you space.
Now that you have your plan, your top priority must be safety. Before you begin planning or ripping out that wall, it’s critical that you commit to prioritizing the safety of anyone and everyone involved in the renovation process. This includes things like turning off the water and power before you start the demo, wearing protective gear (like gloves, heavy-duty shoes and eye protection) and using the proper tools. Following code requirements, which vary based on municipality, and consulting professionals for tasks that are above and beyond your skill set will also help ensure your safety.
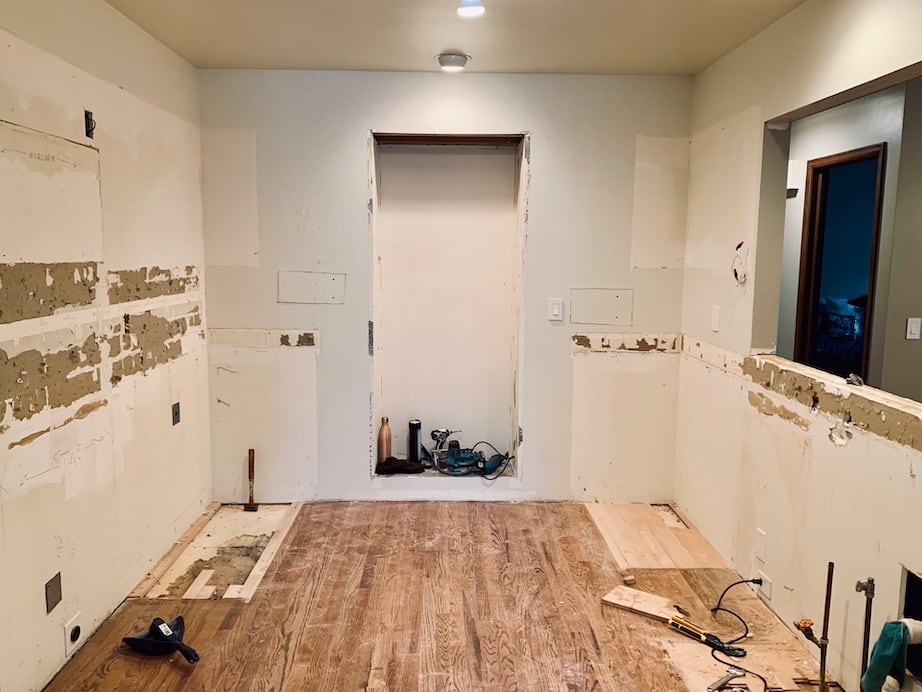
Step 2: Demo
Now that you have a plan, it’s time for the demo.
You will find immense glee in ripping up your dated vinyl flooring or removing that awful sink. Taking down the ugly hood or pitching the cabinets that have seen their day. Get a large dumpster for all the debris so you can just toss it as soon as you remove it.
After you have completed the demo, we are onto the next step, making sure the essentials are all in order.
Step 3: Plumbing and Electrical
Next up is plumbing and electrical. It is best to take care of the utilities when cabinets are out and the walls are exposed. Getting to the wires and pipes becomes much simpler. You don’t want to have to drill or cut holes into those brand-new cabinets that you have just installed or the drywall that has just been put up.
A word of advice – be cautious. Anything that involves a skilled trade – make sure you are dealing with experts. Ordinary household electrical voltage is dangerous to mess around with, and a mistake in plumbing can lead to loads of headaches down the road.
Step 4: Hang Your Drywall
Now that the utilities have been sorted, it’s time to begin the drywall process. Before you get started make sure your measurements are 100% precise. The drywall must cover each wall and the ceiling. Once you have your measurements, get to work. And, once completed, make sure to immediately clean-up. Drywall dust is like mold – it has the tendency to get everywhere quickly. A shop vacuum is best for a hearty cleanup so it is not tracked throughout the rest of the house.
Step 5: Paint
Painting is the fun stage – you can see the design vision begin to take shape. Choose your paint and let loose on your walls.
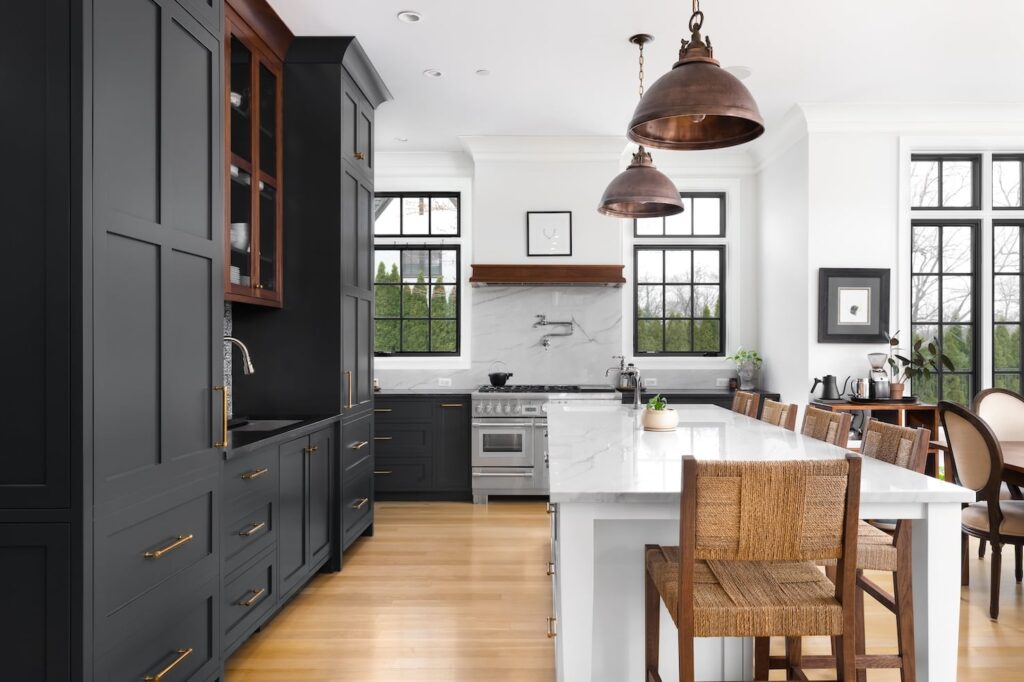
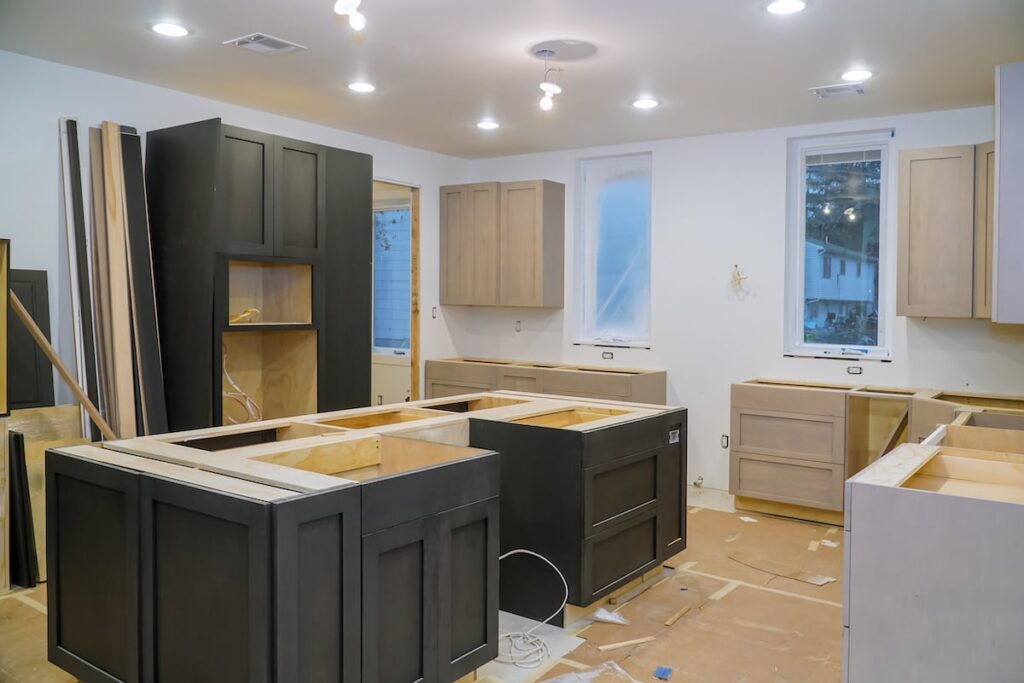
Step 6: Cabinets and Flooring
Cabinets or flooring first? There is a debate among experts. At the end of the day, it is up to you. Just remember to measure, measure, and measure. The space for the cabinets and the square footage of the floor.
Choose quality cabinets that will last and not trend out of style, while adhering to your look. But remember that it often takes months for the cabinets to become available. Generally, cabinets are usually easy to install, and it shouldn’t take an immense amount of time.
In terms of flooring – there is so much to choose from! Hardwoods, tiles, slates. This is another fun aspect of the design (which you have already set during your plan.) Flooring isn’t as easy as the cabinetry – you may have to cut tiles or fight with the woods – but it can be done with minimal effort.
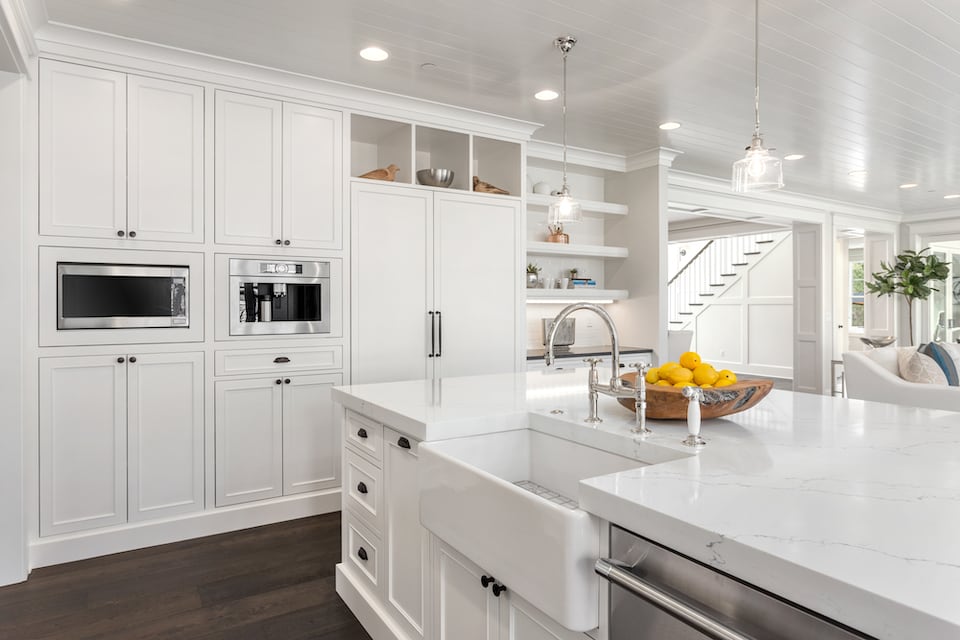
Step 7: Countertops
Once the cabinets are in, measure for your new countertops. This step occurs after the cabinet installation because of the level of precision required in measuring. Your sink should be factored into this step as well, so definitely have it on-site at this point. Like cabinets, it can take weeks for countertops to arrive.
Installation methods depend on the material you select. Options like laminate are DIY-friendly, but materials like granite are complicated to install, so keep this detail in mind when making your selection.
Step 8: Install the Backsplash
The kitchen backsplash is functional. But it is also one of your design highlights. Installing one is super easy – just pick up the tile, mortar, grout and get cracking.

Step 9: Sink and Appliances
Finally, it’s time to install your new sink and set up the dishwasher, refrigerator, range and any other appliances you want to feature in your kitchen. Before you do though, call back the plumber and electrician to make sure all systems are a go. A plumber will know how to connect your sink to the previously installed plumbing fixtures, and an electrician can verify that your new gas stove is installed correctly.
Once these installations are done, your remodel is complete!